
Last updated:
As an Amazon Associate I earn from qualifying purchases.
Why a Small Slip in Water Planning Can Turn a Dream Hike Into a Disaster
Imagine you’re mid‑ascent, the summit within sight, and your stomach starts grumbling. You reach for your bottle, only to find it cracked or half‑empty because you mis‑calculated the day’s needs. That moment of panic is all too familiar for many trail enthusiasts, and it usually traces back to one of seven common mistakes in hiking water storage solutions. This guide walks you through each error, shows you how to sidestep it, and equips you with gear ideas that keep both your thirst and your gear in check.
Mistake #1: Under‑Estimating Daily Water Requirements
Most hikers default to the “two liters per day” rule, but terrain, temperature, and personal sweat rate can swing that number dramatically. On a hot summer day above 75°F, a 150‑lb hiker can lose 1.5 – 2 pints per hour. Failing to factor in altitude or strenuous climbs leads to early dehydration, impaired judgment, and a sluggish pace.
- Practical fix: Use a simple calculator on your phone before the hike—input elevation gain, temperature, and expected exertion level. Add 0.5 L for every hour beyond a moderate pace.
- Gear tip: Carry a hydration reservoir with a built‑in volume indicator. It lets you glance at the gauge and adjust intake on the fly.
Mistake #2: Relying on a Single Type of Container
Putting all your water in one bottle sounds convenient, but a single point of failure can leave you stranded. A cracked bottle, a frozen pouch, or a clogged straw can all render the entire supply unusable.
Mixing container types spreads risk. For instance, a 1‑liter soft bottle fits snugly in a side pocket, while a 2‑liter collapsible pouch can be stowed in the main compartment. If one fails, you still have backup.
- Practical fix: Pack a primary collapsible water pouch plus a sturdy hard‑shell bottle. Use the hard bottle for the first half of the day and the pouch for the latter when space is at a premium.
- Bonus: Small insulated sleeves protect against freezing in sub‑zero conditions.
Mistake #3: Ignoring the Weight Distribution
Heavy water sloshing at the bottom of a backpack throws off your center of gravity. If you strap a full 3‑liter reservoir low on your pack, each step feels like you’re carrying a shifting dumbbell.
Distribute weight by positioning larger containers close to your back and higher up, while keeping lighter pouches in side pockets. This alignment reduces sway and improves balance on technical sections.
- Practical fix: Slot a 1‑liter bottle into a dedicated side mesh pocket, then place a 2‑liter reservoir in the frame’s front pocket, secured with straps.
- Gear tip: Look for backpacks with a dedicated “hydration sleeve” that sits snugly against your spine.
Mistake #4: Forgetting About Water Purification
Even seasoned hikers assume that “clear water looks clean.” A sparkling mountain stream can host Giardia, Cryptosporidium, or harmful bacteria. Relying solely on a bottle’s seal for safety is a recipe for a miserable night at camp.
Integrating a lightweight filter or chemical treatment into your water plan ensures you can refill safely on longer routes.
- Practical fix: Pack a portable water filter that fits inside your bottle or hydration pack. Most filters remove 99.9% of protozoa and bacteria.
- Alternative: Use chlorine dioxide tablets as a backup; they’re compact and work even in cold water.
Mistake #5: Overlooking the Action Camera Factor
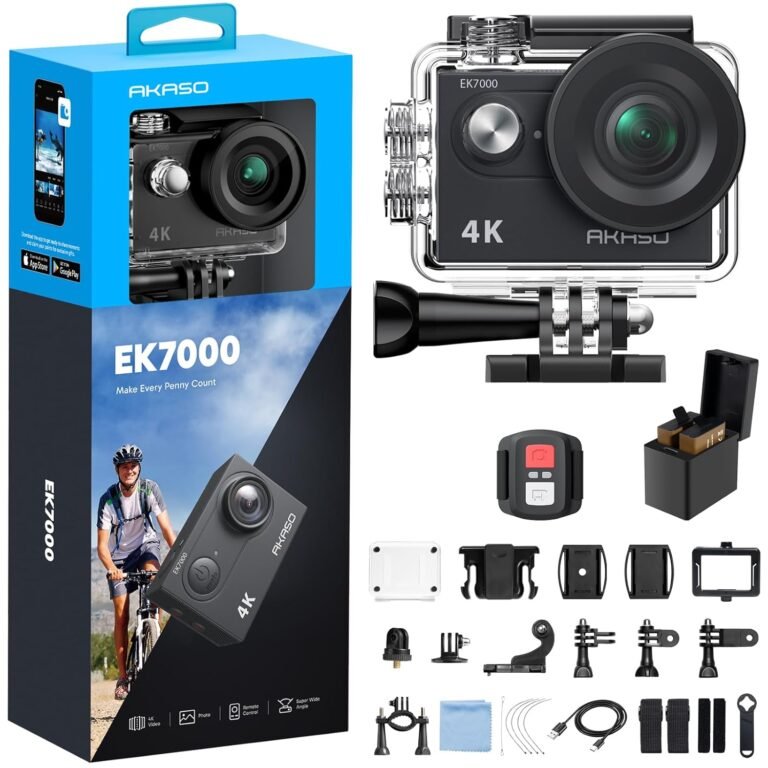
If you love documenting your treks, an action camera can add unexpected water needs. A waterproof action cam may require occasional rinsing, and you’ll likely want to keep spare batteries dry.
Plan a separate, sealed compartment for the camera gear and a small water bottle to rinse lenses after a splash.
- Practical fix: Store the camera in a dry‑sleeve pocket, and keep a 250 ml small water bottle nearby for quick cleaning.
- Tip: Use a zip‑top bag to double‑seal the camera if you anticipate heavy rain or river crossings.
Mistake #6: Neglecting to Test Gear Before the Trail
Many hikers discover leaks or broken straps only after a day of trekking, when a dry bottle suddenly dribbles onto the trail. That’s an avoidable inconvenience.
Give every water container a quick field test at home. Fill it, shake it, and jog in place for a minute. Check for drips, valve stiffness, and how the container fits in your pack.
- Practical fix: Conduct a “pack‑out drill” before departure: load all water gear, walk a short distance, and verify that you can drink without disassembling the pack.
- Bonus: If a valve sticks, a quick soak in warm water often restores smooth flow.
Mistake #7: Forgetting About Refilling Opportunities
Some hikers assume they’ll carry the entire day’s water from the start, ignoring potential refill stations like trailhead taps, alpine lakes, or even a fellow hiker’s bottle. This leads to overpacking and unnecessary weight.
Research water sources on your route ahead of time. Mark them on your map or GPS app, and plan container swaps accordingly.
- Practical fix: Bring a lightweight collapsible pouch that can be filled at any source and tucked away when empty.
- Pro tip: When using a reservoir, practice “top‑off” at the start of the day—fill it to 90% to leave room for expansion as temperature rises.
Putting It All Together: A Sample Day’s Water Strategy
Here’s a concise checklist that incorporates the lessons above:
- Pre‑trip calculation: 2.5 L for moderate weather + 0.5 L for altitude = 3 L total.
- Primary container: 2‑liter hydration reservoir positioned in the back sleeve.
- Secondary backup: 1‑liter hard‑shell bottle in a side pocket.
- Emergency refill: 0.5‑liter collapsible pouch tucked in the front pocket.
- Purification: Portable filter attached to the reservoir’s straw.
- Action cam care: Small bottle for lens rinse, dry‑sleeve pocket for the camera.
- Weight check: Total water weight ≈ 6.6 lb; distribute as described to maintain balance.
Follow this framework, and you’ll shave minutes off every refill, avoid surprise leaks, and keep your focus on the trail—not your thirst.
FAQ
How much water should I actually carry for a 10‑mile hike?
For a moderate 10‑mile trek in 70‑80°F weather, aim for 3 – 4 L. Adjust upward for higher altitude, hotter temperatures, or a fast pace.
Can I use a regular soda bottle for hydration on the trail?
Yes, but soda bottles lack a bite‑proof design and often have narrow mouths that make refilling at streams difficult. Pair them with a filter or carry a separate water‑purification system.
What’s the best way to keep water from freezing in a reservoir?
Store the reservoir close to your body, such as in a dedicated sleeve against your back. Adding a small amount of electrolyte powder can lower the freezing point, and insulating the pack with a layer of clothing helps too.
By sidestepping these seven pitfalls, you’ll transform your water logistics from a gamble into a reliable part of your hiking routine. Ready to upgrade your gear? Explore the product types mentioned above and tailor a system that matches your next adventure. Happy trails!
Related: Best Action Camera Deals: 7 Costly Mistakes to Avoid