Last updated:
As an Amazon Associate I earn from qualifying purchases.
Why hiking backpack size matters more than you think
Imagine trudging up a steep ridge with a pack that swings like a pendulum or, worse, a sack that feels like a brick. The right hiking backpack size is the invisible line between a joyful summit and a painful retreat. It governs weight distribution, breathing ease, and how much of your essential gear you can actually bring. In 2026, manufacturers have refined ergonomics, but the fundamentals still hinge on matching the pack’s volume to your body and itinerary. This guide walks you through twelve concrete steps to evaluate your needs, test fit, and make a confident purchase. By the end, you’ll know exactly which size to click on Amazon, whether you’re hunting for a large hiking backpack for a multi‑day trek or a mid‑size option for a weekend adventure.12 Tips to choose the right hiking backpack size
1. Define your trip length and gear load
Short day hikes (0‑2 nights) usually need 15‑30 L. Overnight trips (2‑5 nights) fall in the 30‑50 L range, while extended expeditions (5+ nights) often require 50‑70 L. Sketch a quick checklist of essentials—tent, sleeping bag, food, water—and estimate their volume. If your total approaches the pack’s limit, consider a larger hiking backpack size or trimming non‑essential items.2. Measure your torso, not just your height
Torso length is the distance from the base of your neck to the top of your hip bone. Most brands list adjustable ranges; your pack’s back panel should comfortably cover that span. A mismatch leads to shoulder strain, regardless of how “big” the pack is.3. Test the pack on a loaded bench
Load the bag with weight equal to 10‑15 % of your body mass. Walk around the store, sit, and squat. Does the hip belt sit snugly on your hips? Do the shoulder straps stay in place? If the pack feels like a loose jacket, you’ve chosen the wrong hiking backpack size for your frame.4. Prioritize volume over weight for longer trips
When you’re on a week‑long trek, a 55 L pack that’s a few ounces heavier is preferable to a 45 L pack that forces you to sacrifice shelter or food. The extra room often translates into better balance and less compression of gear.5. Look for adjustable suspension systems
Modern packs feature sliding torso lengths, removable hip belts, and interchangeable back panels. These features let you fine‑tune a single hiking backpack size to multiple users, making it a versatile family or group investment.6. Match the pack’s shape to your gear
Rectangular packs excel at stuffing bulky items like tents, while curvy “sling” designs hug the body and are ideal for streamlined loads. If you travel with a wide‑frame tent, lean toward a rectangular shape even if it means a slightly larger size.7. Consider external attachment options
Side mesh pockets, ice‑axe loops, and removable day packs extend the functional capacity of a mid‑size pack without inflating its internal volume. A 35 L pack with a detachable 10 L day pack can replace a 45 L monolithic bag.8. Factor in seasonal clothing bulk
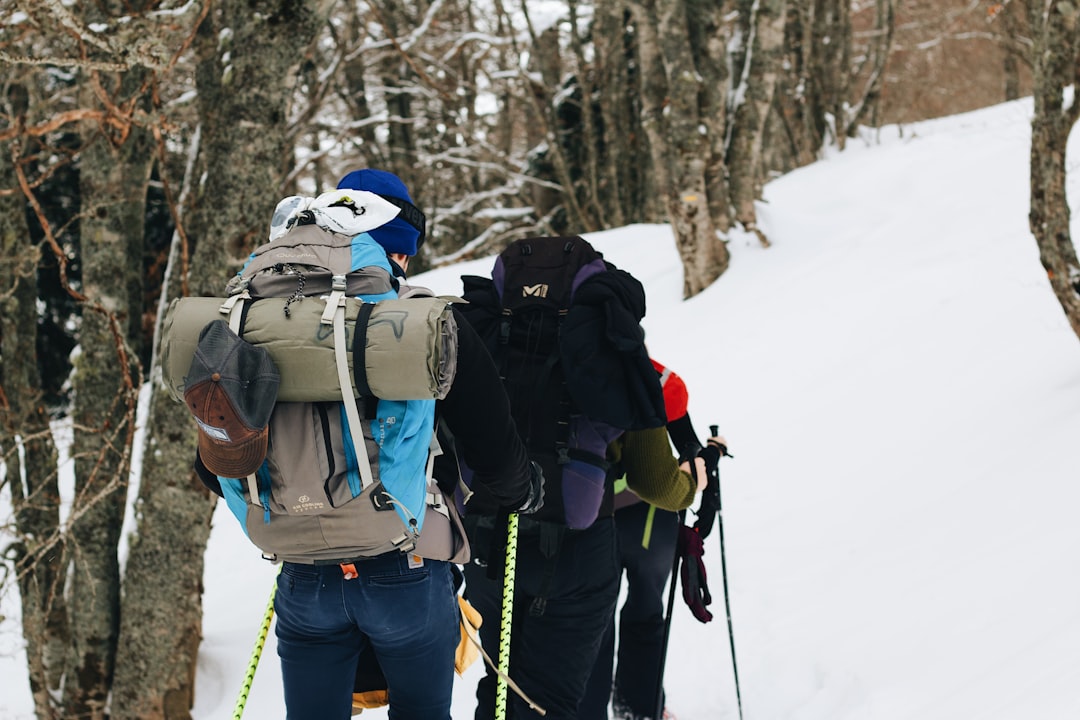
Winter gear (insulated jackets, heavy socks) swells quickly. If you plan to hike in cold weather, bump your size up by 10 L to accommodate the extra layers.9. Check the pack’s compression straps
Compression straps pull the load closer to your back, improving stability. A well‑designed 40 L pack with strong straps can feel as secure as a 50 L pack without them. Test the straps by tightening them with a full load; the pack should hug your spine.10. Evaluate water‑carrying solutions
Integrated hydration reservoirs (2‑3 L) add weight and occupy space. If you rely on a hydration bladder, account for its volume when picking a hiking backpack size. For longer routes, a separate water filter or larger reservoir may push you into a larger pack category.11. Review user reviews for real‑world sizing feedback
Online reviewers often note whether the pack runs small or large. Look for comments like “fits a 5‑foot‑10 frame comfortably” or “tight on narrow shoulders.” These insights can save you a return trip to the store.12. Plan for future upgrades
If you anticipate adding gear—like a portable solar panel or a compact tripod—choose a size with a little breathing room. Buying a slightly larger hiking backpack size now avoids the need for a second purchase next season.Putting it all together: a quick decision checklist
- Trip length & estimated gear weight
- Torso measurement vs. pack’s adjustable range
- Fit test with a loaded pack
- Shape, compression, and external attachments
- Seasonal clothing and water system considerations
- Future gear expansion plans
Gear you might pair with your new pack
Choosing the right size opens the door to a cohesive gear set. Here are four product types that complement any well‑fitted pack:- Lightweight hiking backpacks for fast‑packing days.
- Hydration bladders to stay hydrated without extra bottles.
- Compact trekking poles for stability on uneven terrain.
- Portable camping lights to illuminate the campsite after a long day.
Related reads to fine‑tune your adventure
If you’re assembling a full kit, consider these articles from our site:- 10 Best Hydration Bladders for Hiking in 2025 (Tested) – helps you match bladder capacity to backpack volume.
- Best Compact Binoculars for Hiking: 10 Picks for 2026 – choose optics that won’t crowd your pack.
- 7 Camping Lighting Mistakes Beginners Make (And How to Fix Them) – avoid over‑packing bulky lanterns.