
Last updated:
As an Amazon Associate I earn from qualifying purchases.
When the sun dips behind the ridge and the campfire crackles, you instinctively reach for your camera to record the moment. The footage looks great—until the wind nudges the lens and the video wobbles like a leaf in a storm. That’s where a solid tripod or stabilizer becomes the unsung hero of your outdoor storytelling.
Why a Dedicated Tripod Matters in the Wild
In the backcountry, you’re battling uneven ground, sudden gusts, and limited lighting. A sturdy tripod gives you three things you can’t get from a handheld grip alone:
- Stability: Keeps the frame steady for smooth pans and crisp low‑light shots.
- Flexibility: Adjustable legs let you shoot from low angles on a riverbank or high viewpoints on a ridge.
- Hands‑free operation: Free your hands for setting up gear, lighting a fire, or simply enjoying the scenery.
Choosing the right gear isn’t just about weight; it’s about matching the tripod’s design to the challenges of camping and hiking.
How to Pick the Perfect Tripod for Outdoor Filming
Before we dive into the nine picks, consider these practical criteria:
- Weight vs. Load Capacity: A carbon‑fiber tripod offers feather‑light carry but must still support your camera, lens, and possibly a microphone.
- Leg Locking System: Twist‑locks are quiet and reliable; flip‑locks are faster but can slip on wet gloves.
- Center Column: A reversible (or “center‑column-less”) design reduces wobble for low‑angle shots.
- Head Type: Ball heads are quick for panoramas, while fluid heads give buttery pans for video.
- Portability Features: Collapsible legs, integrated carry straps, and compact packed length matter when you’re trekking 10 miles to the shooting spot.
9 Smart Picks for Camping Filmmakers
1. Carbon‑Fiber Travel Tripod with Ball Head
This classic combination balances ultra‑lightweight construction with a versatile ball head. Ideal for DSLR or mirrorless cameras, it folds down to under a foot, slipping into a backpack side pocket. The ball head lets you lock down a composition in seconds, perfect for sunrise timelapses over a misty lake.
2. Compact Aluminum Tripod with Flip‑Locks
If your budget leans toward affordability, an aluminum tripod with flip‑locks offers solid stability without the premium price tag. Look for models that include a removable center column, allowing you to get close to the ground for macro nature shots.
3. Heavy‑Duty Tripod for Action Cameras
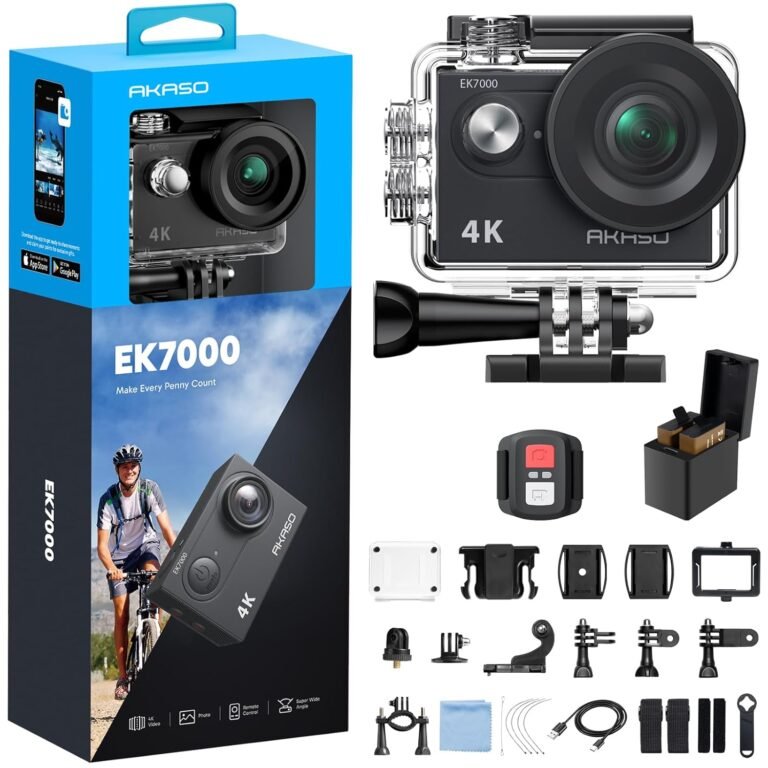
Action cameras like GoPros are small but can be surprisingly top‑heavy when equipped with wide‑angle lenses. A sturdy tripod with wide‑spread leg angles prevents tipping on uneven terrain. Some designs feature a quick‑release plate that snaps the camera on and off in a single motion—handy when you need to move between water and land quickly.
4. Portable Gimbal Stabilizer for Smooth Motion
When you’re on the move—hiking a trail, kayaking, or biking—handheld stabilization beats a tripod. A three‑axis gimbal keeps footage level despite bumps, letting you capture dynamic shots without a wobble. Look for models with a detachable battery pack that can last a full day of shooting.
5. Mini Tripod (Table‑Top) for Tight Spaces
Camp kitchens, rocky outcrops, and low‑light interiors often lack a stable surface. A mini tripod with a short leg spread can rest on a log or a picnic table, giving you a stable base for close‑up cooking tutorials or wildlife sketches.
6. Flexible “Gooseneck” Tripod
These bendable legs cling to branches, poles, or even uneven rocks, letting you position the camera at unconventional angles. They’re especially useful for filming birds nesting in trees or for creating unique overhead perspectives without a drone.
7. Tripod with Integrated Monopod
Some travel tripods feature a detachable leg that doubles as a monopod. Switch to monopod mode for quick panning on a windy ridge, then snap the leg back into place for full stability when you find a solid spot.
8. Waterproof Tripod for Wet Environments
Rain, river spray, and early‑morning dew are inevitable in the backcountry. A tripod with sealed leg locks and rust‑resistant hardware prevents corrosion and keeps the legs from slipping when wet.
9. Tripod with Built‑in Carry System
Imagine a tripod that folds into a backpack strap or includes a dedicated sling. This design reduces the number of items you carry and makes setting up a shot as simple as slinging the tripod over your shoulder and unfolding it on the trail.
Where to Find These Gear Types
All of the above options are widely available on major online retailers. If you’re ready to explore specific models, start by searching for the following categories:
- Carbon‑fiber travel tripod
- Compact aluminum tripod
- Heavy‑duty tripod for action cameras
- Portable gimbal stabilizer
Tips for Using Your Tripod in the Wild
Even the best tripod can be outsmarted by a careless setup. Keep these practices in mind to maximize performance:
- Secure the Legs: On soft ground, drive stakes or use rocks to brace each leg. On slippery surfaces, add rubber pads or a small piece of cloth under the foot.
- Level the Base: Use the built‑in bubble level (if available) or a smartphone app to ensure your horizon stays true.
- Mind the Wind: Position the tripod’s thickest leg against the wind direction, and consider adding a sandbag or a backpack as a counterweight.
- Pack Smart: Keep the tripod in a separate compartment to avoid crushing it against heavy gear. A protective sleeve adds an extra layer of defense.
- Maintenance: After each trip, wipe down the legs, check for loose screws, and store the tripod in a dry place to prevent moisture buildup.
FAQ
Can I use a tripod with a smartphone?
Yes. Most tripods have a standard ¼‑inch thread that fits a universal smartphone mount. Look for a mount that clamps the phone securely without scratching the screen.
How high should my tripod be for a campsite vlog?
A height of 4‑5 feet puts the camera at eye level for most people, creating a natural, conversational feel. If you want a bird’s‑eye view of the fire circle, lower the tripod and angle the camera upward.
Do I need a separate tripod for low‑light shooting?
Not necessarily. A sturdy tripod that can support a heavier lens and a longer exposure will handle low‑light situations better than a flimsy one. Pair it with a fluid head for smooth pans if you plan to move the camera during night scenes.
Wrap‑Up: Choose the Right Support and Capture the Adventure
Outdoor filming is a dance between spontaneity and stability. By selecting a tripod or stabilizer that matches the terrain, weather, and your equipment, you turn fleeting campfire stories into lasting, high‑quality videos. Take the time to test a few leg locks on a rocky path before you head out, and keep a compact gimbal in your daypack for those on‑the‑move moments.
Ready to level up your campsite cinematography? Pick one of the nine smart options above, pair it with the right accessories, and let the wilderness become your studio.
Related: Best Action Camera Deals: 7 Costly Mistakes to Avoid