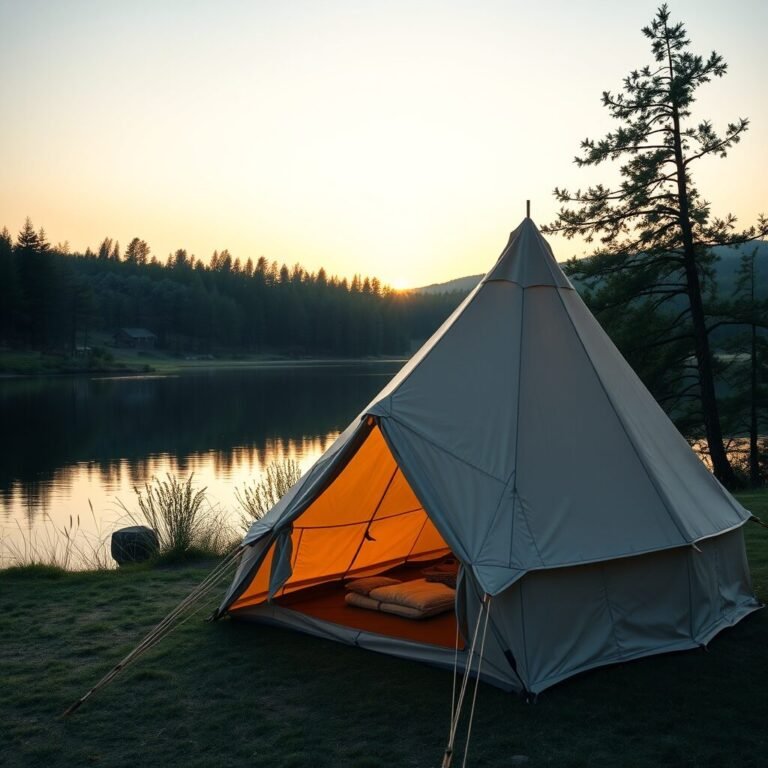
Best Camping Lighting Guide: Camping Lighting & Power Guide
By Azad · Apr 28, 2026 · 5 min read
Last updated:
As an Amazon Associate I earn from qualifying purchases.
When the sun dips below the treeline, a well‑planned camping lighting guide can mean the difference between a cozy campfire circle and a stumbling, frustrated night. Whether you’re a weekend warrior or a thru‑hiker, the right light makes cooking, navigating, and storytelling easier—and safer.
1. Start with the Right Base Light
The centerpiece of any camping lighting guide is a reliable lantern. Modern LED lanterns deliver a flood of even illumination while sipping power. For most groups, a 200‑lumens lantern strikes a sweet spot: bright enough for meals, dimmable for ambience. Look for a model with a built‑in USB port so you can recharge phones or small devices on the fly.
LED lanterns vs. traditional fuel lanterns
LED lanterns win on efficiency and safety. A single AA battery can run a low‑bright setting for up to 50 hours, whereas propane lanterns need refills and produce heat. If you love the classic glow, consider a hybrid that burns fuel but also accepts rechargeable batteries.
2. Power Planning: Batteries You Can Trust
Even the best lantern is useless without power. A solid camping lighting guide always includes a backup battery strategy. Keep a stash of high‑capacity AA or AAA rechargeable batteries in a waterproof pouch. Pair them with a compact lithium‑ion power bank—those rechargeable battery packs can keep a lantern alive for three nights on a single charge.
Battery maintenance on the trail
Store spares in a cool, dry place and charge them fully before each trip. If you’re venturing into sub‑zero conditions, keep batteries close to your body for a few minutes to maintain performance.
3. Harness the Sun: Solar Gear
Solar panels are the eco‑friendly answer to endless battery hunting. A fold‑out solar lantern with a built‑in panel can recharge itself during daylight, offering up to 10 hours of light after a sunny afternoon. For longer trips, bring a portable solar panel light kit that folds into a backpack.
Choosing the right panel size
For a two‑person camp, a 5‑watt panel is sufficient. If you’re powering multiple devices, a 10‑watt panel gives you flexibility without adding bulk.
4. Layer Your Lighting
A single lantern leaves dark corners. Combine a central lantern with headlamps and a string of battery‑powered LED rope lights. This layered approach, a tip you’ll find in many camping lighting guide articles, creates zones: bright for cooking, soft for conversation, focused for reading.
5. Master Light Placement
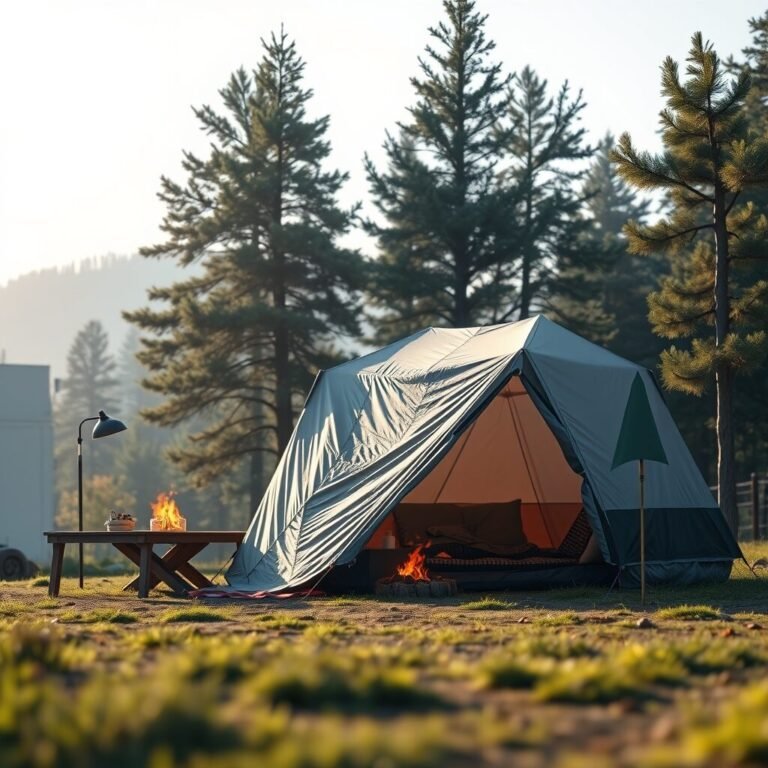
Place the main lantern on a sturdy table or hang it from a tree branch using a paracord loop. Avoid placing it directly on the ground where moisture can seep in. For a 15‑minute setup, practice the “tri‑point” method: one light over the fire pit, one near the cooking area, and one at the tent entrance.
6. Use Reflectors for Efficiency
Reflective surfaces double perceived brightness. Position a white tarp or a lightweight reflector behind the lantern to bounce light outward. This trick, often overlooked in beginner guides, reduces battery drain by up to 30%.
7. Keep Lights Clean and Dry
Dust and moisture are the enemies of any camping lighting guide. Wipe lenses with a microfiber cloth after each use and store the lantern in a zip‑top bag when not in operation. An IPX4 or higher rating ensures rain won’t short‑circuit the unit.
8. Emergency Light Options
Never rely on a single light source. Pack a small, waterproof LED lantern that fits in a glove compartment, and keep a glow‑stick or two for low‑tech backup. They’re cheap, lightweight, and work without batteries.
9. Dimmer Switches Save Power
Most modern lanterns include a dimmer. Use a low setting for background ambience and crank up to full brightness only when you need to see detail—like when chopping vegetables or reading a map. This habit extends run time and preserves battery life.
10. Integrate Lighting with Your Camp Layout
Map out your campsite before dark. Position lights to illuminate walkways and avoid tripping hazards. A simple rope of LED lights along the tent entrance makes late‑night bathroom trips safer and less startling.
11. Choose the Right Color Temperature
Warm white (2700‑3000 K) creates a campfire vibe, while cool white (5000‑6500 K) is better for task lighting. Many lanterns let you toggle between the two—use warm for dinner, cool for cooking or reading maps.
12. Power Management Apps
Some high‑tech lanterns pair with smartphone apps that show remaining battery, set timers, and even sync multiple lights. If you already use a trail camera or GPS, adding a lighting app won’t add weight—just a bit of convenience.
13. Keep a Light Repair Kit
A tiny screwdriver, spare O‑rings, and a roll of electrical tape can fix a cracked lens or loose battery compartment. A well‑rounded camping lighting guide always recommends a repair kit, especially for long expeditions.
14. Recycle and Recharge
When you return home, recycle spent batteries responsibly and recharge any rechargeable packs. Many outdoor retailers offer battery recycling bins—supporting a sustainable loop for your next adventure.
What’s the best way to power a lantern without electricity? Use a rechargeable lithium battery pack or a compact solar panel—both store enough energy for multiple nights.
How long should a headlamp’s beam last on a single set of batteries? High‑efficiency LEDs can provide 8‑12 hours of low‑bright light or 2‑4 hours on maximum output.
Are cheap lanterns reliable for rainy weather? Look for models with an IPX4 rating or higher; they’ll stay bright even in a downpour.
Ready to upgrade your night‑time setup? Start by picking a versatile LED lantern, a sturdy rechargeable battery pack, a fold‑out solar panel, and a reliable headlamp. With these four product types, your campsite will stay lit, safe, and comfortable for every adventure.