
As an Amazon Associate I earn from qualifying purchases.
Stepping into beginner outdoor apparel can feel overwhelming when technical fabrics, specialized terminology, and premium price tags dominate every gear display. Standing in an aisle staring at three-layer laminates, fill-power ratings, and merino blends often leaves newcomers wondering if standard gym clothes will suffice. The short answer is yes to some athletic wear, but heading into shifting weather demands a clear strategy to keep you dry, warm, and safe.
Wilderness comfort does not require purchasing an entire wardrobe on day one. By grasping how garments interact with heat, perspiration, and unpredictable weather, you can build a versatile setup gradually. Whether preparing for simple day hikes or exploring essential trail gear for weekend getaways, this step-by-step guide walks you through building your kit methodically.
Step 1: Understand the Golden Rules of Beginner Outdoor Apparel
Every functional outdoor wardrobe rests on a single physiological reality: moisture kills warmth. When you hike uphill, your body produces sweat to cool down. If your clothes trap that moisture against your skin, your core temperature drops rapidly once you stop moving or wind picks up. Hypothermia can occur in surprisingly mild temperatures when wet fabric clings to your skin.
This reality brings us to the cardinal rule of beginner outdoor apparel: leave cotton at home. Denim jeans, heavy cotton hoodies, and cotton athletic socks absorb water like a sponge and dry exceptionally slowly. Instead, look for two core material families:
- Synthetics (Polyester and Nylon): Inexpensive, durable, quick to dry, and exceptionally light. Ideal for high-output activities and budget-conscious starters.
- Merino Wool: Naturally odor-resistant, soft, and capable of insulating even when damp. Merino costs more than synthetics, but its temperature regulation across warm and cool climates makes it a staple investment.
Step 2: Start from the Skin with a Moisture-Wicking Base Layer
Your base layer sits directly against your skin. Its primary job is not warmth, but active moisture transport. By pulling sweat away from your skin through capillary action, a good base layer keeps your surface area dry so your body can maintain a stable temperature.
In warm weather, a lightweight synthetic short-sleeve or long-sleeve sun hoody serves as your base layer. In cool or freezing conditions, switch to a snug long-sleeve crew top and thermal bottoms. A quality merino wool base layer provides unmatched breathability and stays fresh over multi-day trips without developing harsh synthetic odors.
When selecting your initial pieces, ensure the fit is relatively close without restricting movement. Baggy tops cannot pull sweat from your skin effectively, leaving cold wet patches behind your shoulder blades and down your spine.
Step 3: Trap Heat with an Insulating Mid-Layer
Once sweat moves off your skin, you need an insulating layer to trap warm air generated by your body. The ideal mid-layer balances thermal efficiency with breathability so you avoid overheating on steep accents.
Most hikers lean on two primary mid-layer types:
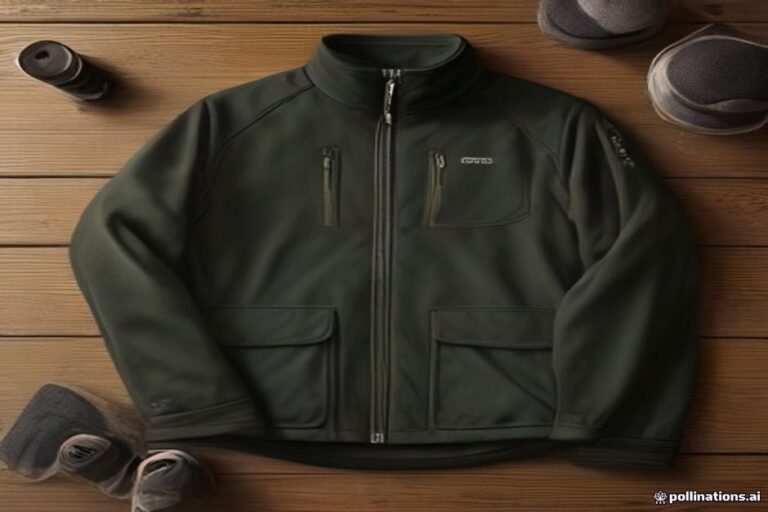
- Fleece Jackets: A classic fleece mid-layer jacket is rugged, breathable, and continues insulating even if it gets damp. Fleece is affordable, easy to wash, and nearly indestructible on rough trails.
- Puffy Jackets (Down or Synthetic Fill): Puffy jackets offer a higher warmth-to-weight ratio than fleece and compress down small inside a pack. Down provides superior warmth in dry environments, while synthetic fill retains structure if soaked by freezing rain. If you plan trips in late autumn or early spring, reviewing cold-weather essentials will help you select the proper insulation weight.
For versatile beginner outdoor apparel setups, start with a 100-weight or 200-weight polyester fleece. It performs reliably during cool mornings, doubles as an everyday pullover, and does not require delicate laundering.

Step 4: Shield from Elements with an Outer Shell
Even the warmest mid-layer loses its insulating value instantly if cold wind cuts through the knit or rain drenches the fibers. Your outer layer—often called the hard shell—serves as your barrier against wind, rain, and snow.
Do not confuse a water-resistant windbreaker with a true waterproof jacket. Light water-repellent coatings handle light mist for ten minutes, but a steady mountain downpour will soak through them. Look for a packable, seam-taped breathable waterproof rain jacket featuring an adjustable hood and underarm pit zips. Pit zips allow you to dump excess heat and steam without exposing your torso to falling rain.
A dependable shell lives in your daypack on every trip, even under blue skies. Mountain weather shifts swiftly, and a windproof barrier can prevent mild chills from turning into dangerous exposure.
Step 5: Select Durable Lower-Body Clothing and Footwear
Jeans and sweatpants restrict leg motion and soak up ground moisture from wet grass or brush. Dedicated trail bottoms protect against abrasive rocks, thorns, sun exposure, and biting insects.
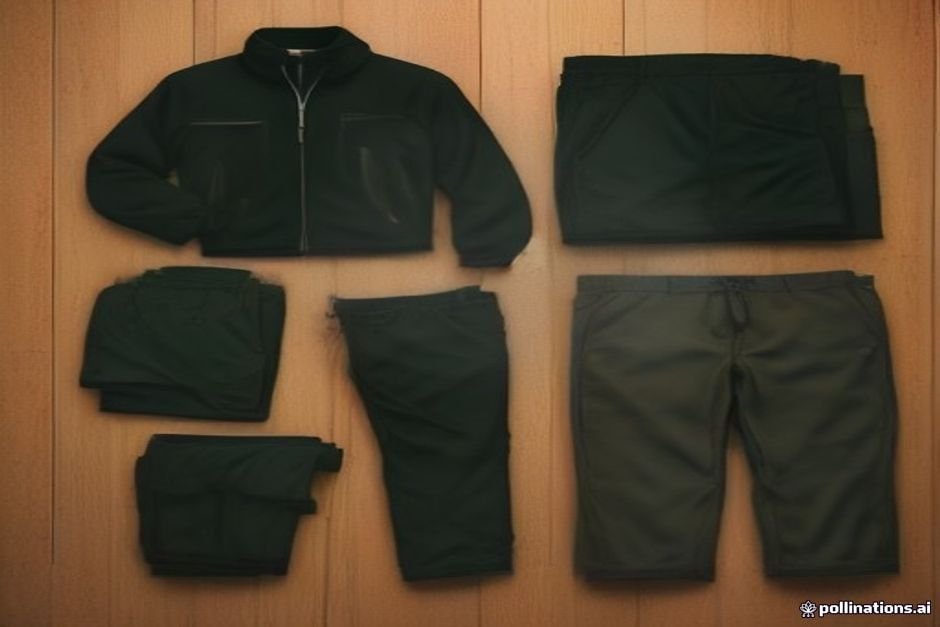
Choose a pair of lightweight, stretch-woven durable hiking pants built from nylon or polyester blends treated with a durable water-repellent finish. Articulated knees, gusseted crotches, and zippered cargo pockets keep movement effortless and essentials secure.
Down below, your feet require just as much attention as your core. Blisters ruin hikes faster than bad weather, and they usually stem from poor sock choice. Never wear cotton athletic socks on a trail. Pair your trail shoes or boots with trail-proven wool or dense synthetic options. Reading through our guide on the best socks for long trails will show you how cushioning zones and seamless toe boxes prevent painful friction hot spots.

Step 6: Build Your Beginner Outdoor Apparel Kit on a Budget
Assembling a practical wardrobe does not mean buying high-end technical gear all at once. Strategic shopping allows you to build a complete beginner outdoor apparel kit without draining your bank account.
Use these simple rules to prioritize your spending:
- Spend on Shells and Socks: A cheap rain jacket that wets out leaves you vulnerable in storms, and cheap socks cause blisters. Put your budget into dependable wet-weather protection and foot comfort first.
- Save on Mid-Layers and Shirts: Simple synthetic activewear tees from department stores or thrift shops function nearly as well as high-end brand-name base layers. Plain thrifted fleece sweaters insulate just as well as technical garments.
- Shop Off-Season: Buy heavy thermal layers in mid-spring and lightweight sun hoodies in late autumn when outdoor retailers clear their inventory.
FAQ
Can I wear gym clothes for hiking as a beginner?
Yes, synthetic athletic shirts, running tights, and gym shorts work well because they manage moisture and dry quickly, but avoid cotton blends and flimsy fabrics that tear easily on rocks or brush.
What is the single most important piece of clothing to buy first?
Invest first in proper footwear and trail-specific moisture-wicking socks, followed closely by a dependable waterproof rain shell that protects against sudden weather shifts.
How many layers do I actually need to carry on a day hike?
On most three-season hikes, pack three core layers: a moisture-wicking next-to-skin shirt, an insulating fleece or lightweight puffy jacket, and a packable windproof and waterproof rain shell.
Start Simple and Head Outside
Dialing in your beginner outdoor apparel is an iterative process. You do not need top-tier expedition gear to enjoy local trails, forest paths, or mountain overlooks. Begin with synthetic items you may already own, steer clear of cotton, and add a reliable rain jacket and cushioned wool socks to your pack. As you spend more time outside across varied elevations and seasons, you will naturally discover which pieces best match your body’s temperature needs and trail goals.
Also read: What Is Outdoor Apparel? The Simple Beginner’s Guide